South Florida is one of the best places in the world to own a boat. The weather is warm, the water is beautiful, and you can be out on the water during almost every month of the year. But that same climate, the intense UV radiation, the high humidity, the frequent rain, and the salt air, is also one of the harshest environments that boat upholstery has to endure anywhere in the country.
The difference between upholstery that looks great after eight years and upholstery that looks tired after three often comes down to one thing: consistent maintenance. Boat owners who follow a regular routine protect their investment and avoid the surprise expense of premature replacement. Those who clean only when things look noticeably dirty tend to deal with damage that has already progressed further than it needed to.
At Florida Marine Upholstery, we serve boat owners throughout Broward County, Miami-Dade County, and Palm Beach County, and we have seen firsthand the difference that consistent care makes. This checklist is designed to give you a practical, realistic routine that will keep your upholstery in excellent condition without taking over your weekends.
After Every Outing: The Non-Negotiables
These two steps take less than ten minutes and should happen every single time you bring your boat in from saltwater or brackish water.
Rinse with Fresh Water
Salt is the most persistent enemy of boat upholstery in South Florida. Even when you cannot see salt deposits, they are present on every surface that was exposed to saltwater spray or salt air. Salt is hygroscopic, which means it attracts and holds moisture, creating a consistently damp environment that accelerates mold growth and material deterioration. Salt also works into seams and stitching and acts as a mild abrasive that degrades thread and vinyl coatings over time.
A fresh water rinse after every outing removes that salt before it has time to cause damage. Run water over all upholstered surfaces and pay particular attention to seams, creases, and any areas where water and salt tend to pool. This single habit, consistently applied, extends the life of your upholstery significantly.
Allow Everything to Dry Before Covering
Covering a wet boat is one of the most reliable ways to create the conditions mold needs to thrive. After rinsing, give the upholstery time to air dry in a shaded area before the boat cover goes on. If you need to cover quickly, use a clean dry towel on the main seating surfaces and make sure the cover you use is breathable rather than completely sealed.
Monthly Maintenance: The Full Routine
Once a month, set aside an hour or two to go through the full maintenance routine. The time investment is modest, and the protection it provides is substantial.
Step 1: Inspect Every Surface Carefully
Before reaching for any cleaning products, take a slow walk around your boat and inspect every upholstered surface. You are looking for early signs of problems that are much easier and less expensive to address now than they will be later.
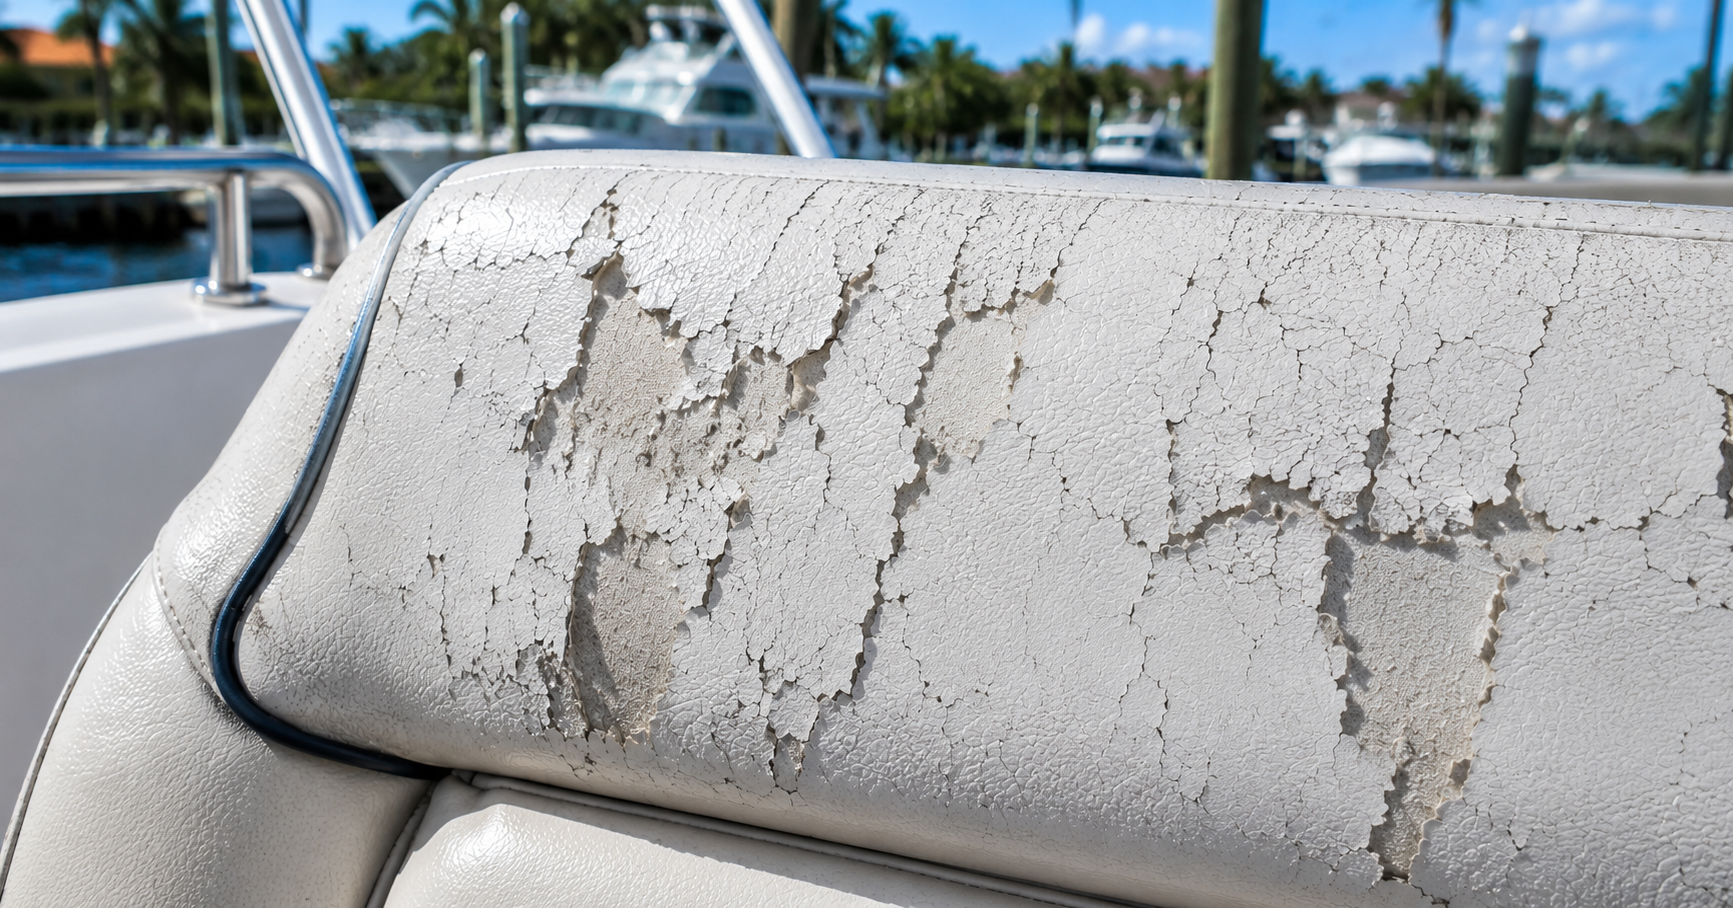
Check vinyl surfaces for any cracks, no matter how small. Small cracks that are addressed early can sometimes be treated with a quality vinyl conditioner to slow their progression. Left unaddressed, small cracks become large ones and allow water to reach the foam core. Check seams for any signs of thread deterioration or separation. Press down on each cushion to feel whether the foam is providing consistent support or whether any areas feel flat, soft, or unusual. Look for any discoloration that might indicate mold beginning to develop.
Taking notes or photos during your inspection creates a record that helps you track whether things are stable, improving, or getting worse over time. It also gives you useful information when talking to a professional about potential repairs.
Step 2: Rinse All Surfaces with Fresh Water
Even if you rinsed after your last outing, start the monthly cleaning session with another fresh water rinse. Salt deposits that were not fully removed by the post-outing rinse, dust, pollen, and other environmental contaminants accumulate between outings and should be cleared away before you apply any cleaning product.
Step 3: Clean with a Marine-Safe Cleaner
Apply a pH-neutral marine vinyl or fabric cleaner to all upholstered surfaces. Work in sections to prevent the cleaner from drying before you can scrub and rinse it off. Use a soft-bristle brush or microfiber cloth and scrub in gentle circular motions. Pay extra attention to seams, textured areas, and any spots where dirt visibly accumulates.
For any mold or mildew spots, apply a marine-rated mold and mildew remover rather than bleach. Follow the product directions for dwell time, scrub gently, and rinse thoroughly. If mold spots keep returning in the same locations despite cleaning, that is a sign the mold has penetrated below the surface and a professional assessment is worth scheduling.
Step 4: Address Any Stains Directly
Sunscreen is one of the most common and most damaging stains on boat upholstery. The oils and chemical compounds in sunscreen break down vinyl coatings over time and leave yellowish stains that become harder to remove the longer they sit. For sunscreen stains, apply your marine cleaner directly to the stain, let it dwell for a few minutes, and then scrub gently. Repeat as needed. For particularly stubborn stains, a small amount of isopropyl alcohol applied with a microfiber cloth can help lift the residue without damaging the vinyl.
Fish blood, bait residue, and food stains respond well to enzymatic cleaners designed for marine use. These products break down organic matter at a molecular level rather than just lifting surface residue, which makes them more effective for biological stains.
Step 5: Rinse Completely and Dry Thoroughly
Rinse every surface completely with fresh water until no soap or cleaner residue remains. This step matters more than most people realize. Soap residue left on vinyl acts as a dirt magnet and can accelerate surface deterioration. After rinsing, allow everything to dry completely in a shaded area. Direct sun drying is not ideal because UV exposure during the cleaning and drying process is extra exposure that is worth minimizing.
Step 6: Apply UV Protectant to All Vinyl Surfaces
Once everything is clean and dry, apply a UV protectant to all vinyl surfaces. This is the step that makes the biggest difference in the long-term appearance and lifespan of your upholstery in South Florida's climate. Products like 303 Aerospace Protectant create a UV-blocking barrier, repel water, resist dust and dirt adhesion, and leave vinyl looking clean and well-maintained.
Apply the protectant according to the product directions and buff off any excess with a clean microfiber cloth. Most UV protectants are designed to be reapplied every four to six weeks, which lines up conveniently with a monthly maintenance routine. Do not apply UV protectant to fabric surfaces unless the product is specifically labeled as safe for fabric. Fabric has its own protectant products that are formulated differently.
Step 7: Treat Fabric Surfaces with Fabric Protector
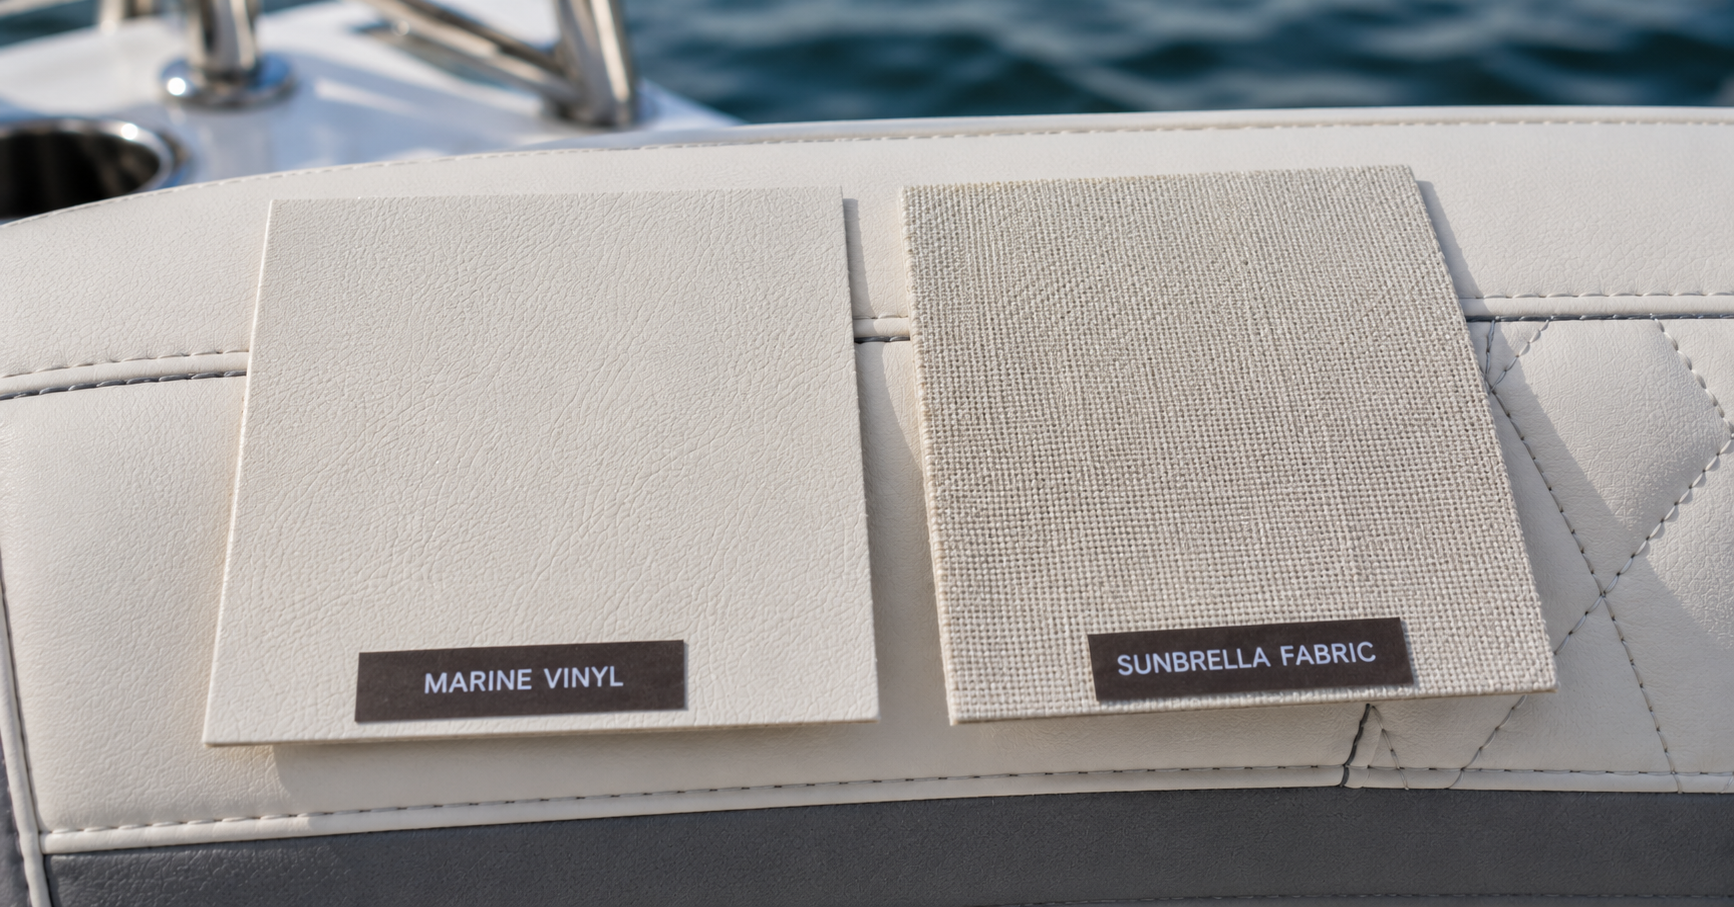
If your boat has marine fabric upholstery, apply a fabric protector after cleaning. Products like 303 Fabric Guard or Scotchgard Marine are designed to restore the water-repellent properties of marine fabric that diminish over time with sun exposure and cleaning. A well-protected fabric surface sheds water more effectively and resists staining.
Quarterly: The Deep Check
Every three months, add a few extra steps to your monthly routine for a more thorough inspection and maintenance session.
Remove any cushions that have covers and inspect the undersides. Mold can develop in low-ventilation areas, particularly the underside of cockpit cushions and anywhere there is limited airflow. If you find mold on the underside of cushions, treat it with a marine mold remover and allow the cushion to dry completely in the sun before returning it to the boat.
Check all zippers on cushion covers for corrosion and lubricate them with a zipper lubricant to prevent seizing. A stuck zipper that tears when forced is a common and easily preventable problem.
Examine the stitching on all seams and look for any areas where thread is beginning to fray or separate. Early seam repair is far less expensive than full replacement, and catching it at the quarterly inspection is much better than discovering it after water has been entering the foam for several months.
When Maintenance Is Not Enough
Even the best maintenance routine has limits. If your inspection reveals cracking vinyl, persistent mold, waterlogged foam, or widespread seam failure, professional attention is the appropriate next step. At Florida Marine Upholstery, we offer free consultations for boat owners throughout South Florida and will give you an honest assessment of what your upholstery needs.
Visit our contact page or fill out our contact form and we will be in touch.